
Have you ever been at the checkout counter and realized you left your wallet in the car? Or maybe you’ve worried about someone stealing your credit card numbers at a gas station?
Today, we’re talking about Mobile Wallets—specifically Apple Pay and Google Pay. These are secure ways to store your credit or debit cards on your phone, so you can pay with a simple tap. It’s faster, cleaner, and even more secure than carrying a physical card!
What Exactly is a Mobile Wallet? 🤔
Think of it as a digital version of your leather wallet. Instead of pulling out a plastic card and swiping it, you hold your phone near the payment terminal.
-
iPhone users use Apple Pay (linked to the “Wallet” app).
-
Android users use Google Pay (often called the “Google Wallet” app).
Is it safe?
Very! When you use these services, your actual card number is never shared with the store. Instead, your phone sends a one-time “code” for that specific purchase. Even if someone stole that code, it would be useless to them!
How to Set It Up 💳
Setting up your digital wallet takes just a couple of minutes and only needs to be done once.
For iPhone (Apple Pay):
- Open the “Wallet” app: It’s the icon that looks like a colorful wallet.
- Tap the Plus (+) sign: This is usually in the top right corner.
- Follow the prompts: You can use your phone’s camera to “scan” your credit or debit card so you don’t have to type in all the numbers.
- Verify with your bank: They may send you a one-time code to confirm it’s you adding the card.
For Android (Google Pay):
- Open the “Google Wallet” app: If you don’t see it, you can download it for free from the Play Store.
- Tap “Add to Wallet”: This is usually at the bottom of the screen.
- Select “Payment card”: Use your camera to scan your card or enter the details manually.
- Confirm: Just like Apple, your bank may verify the card to keep things secure.
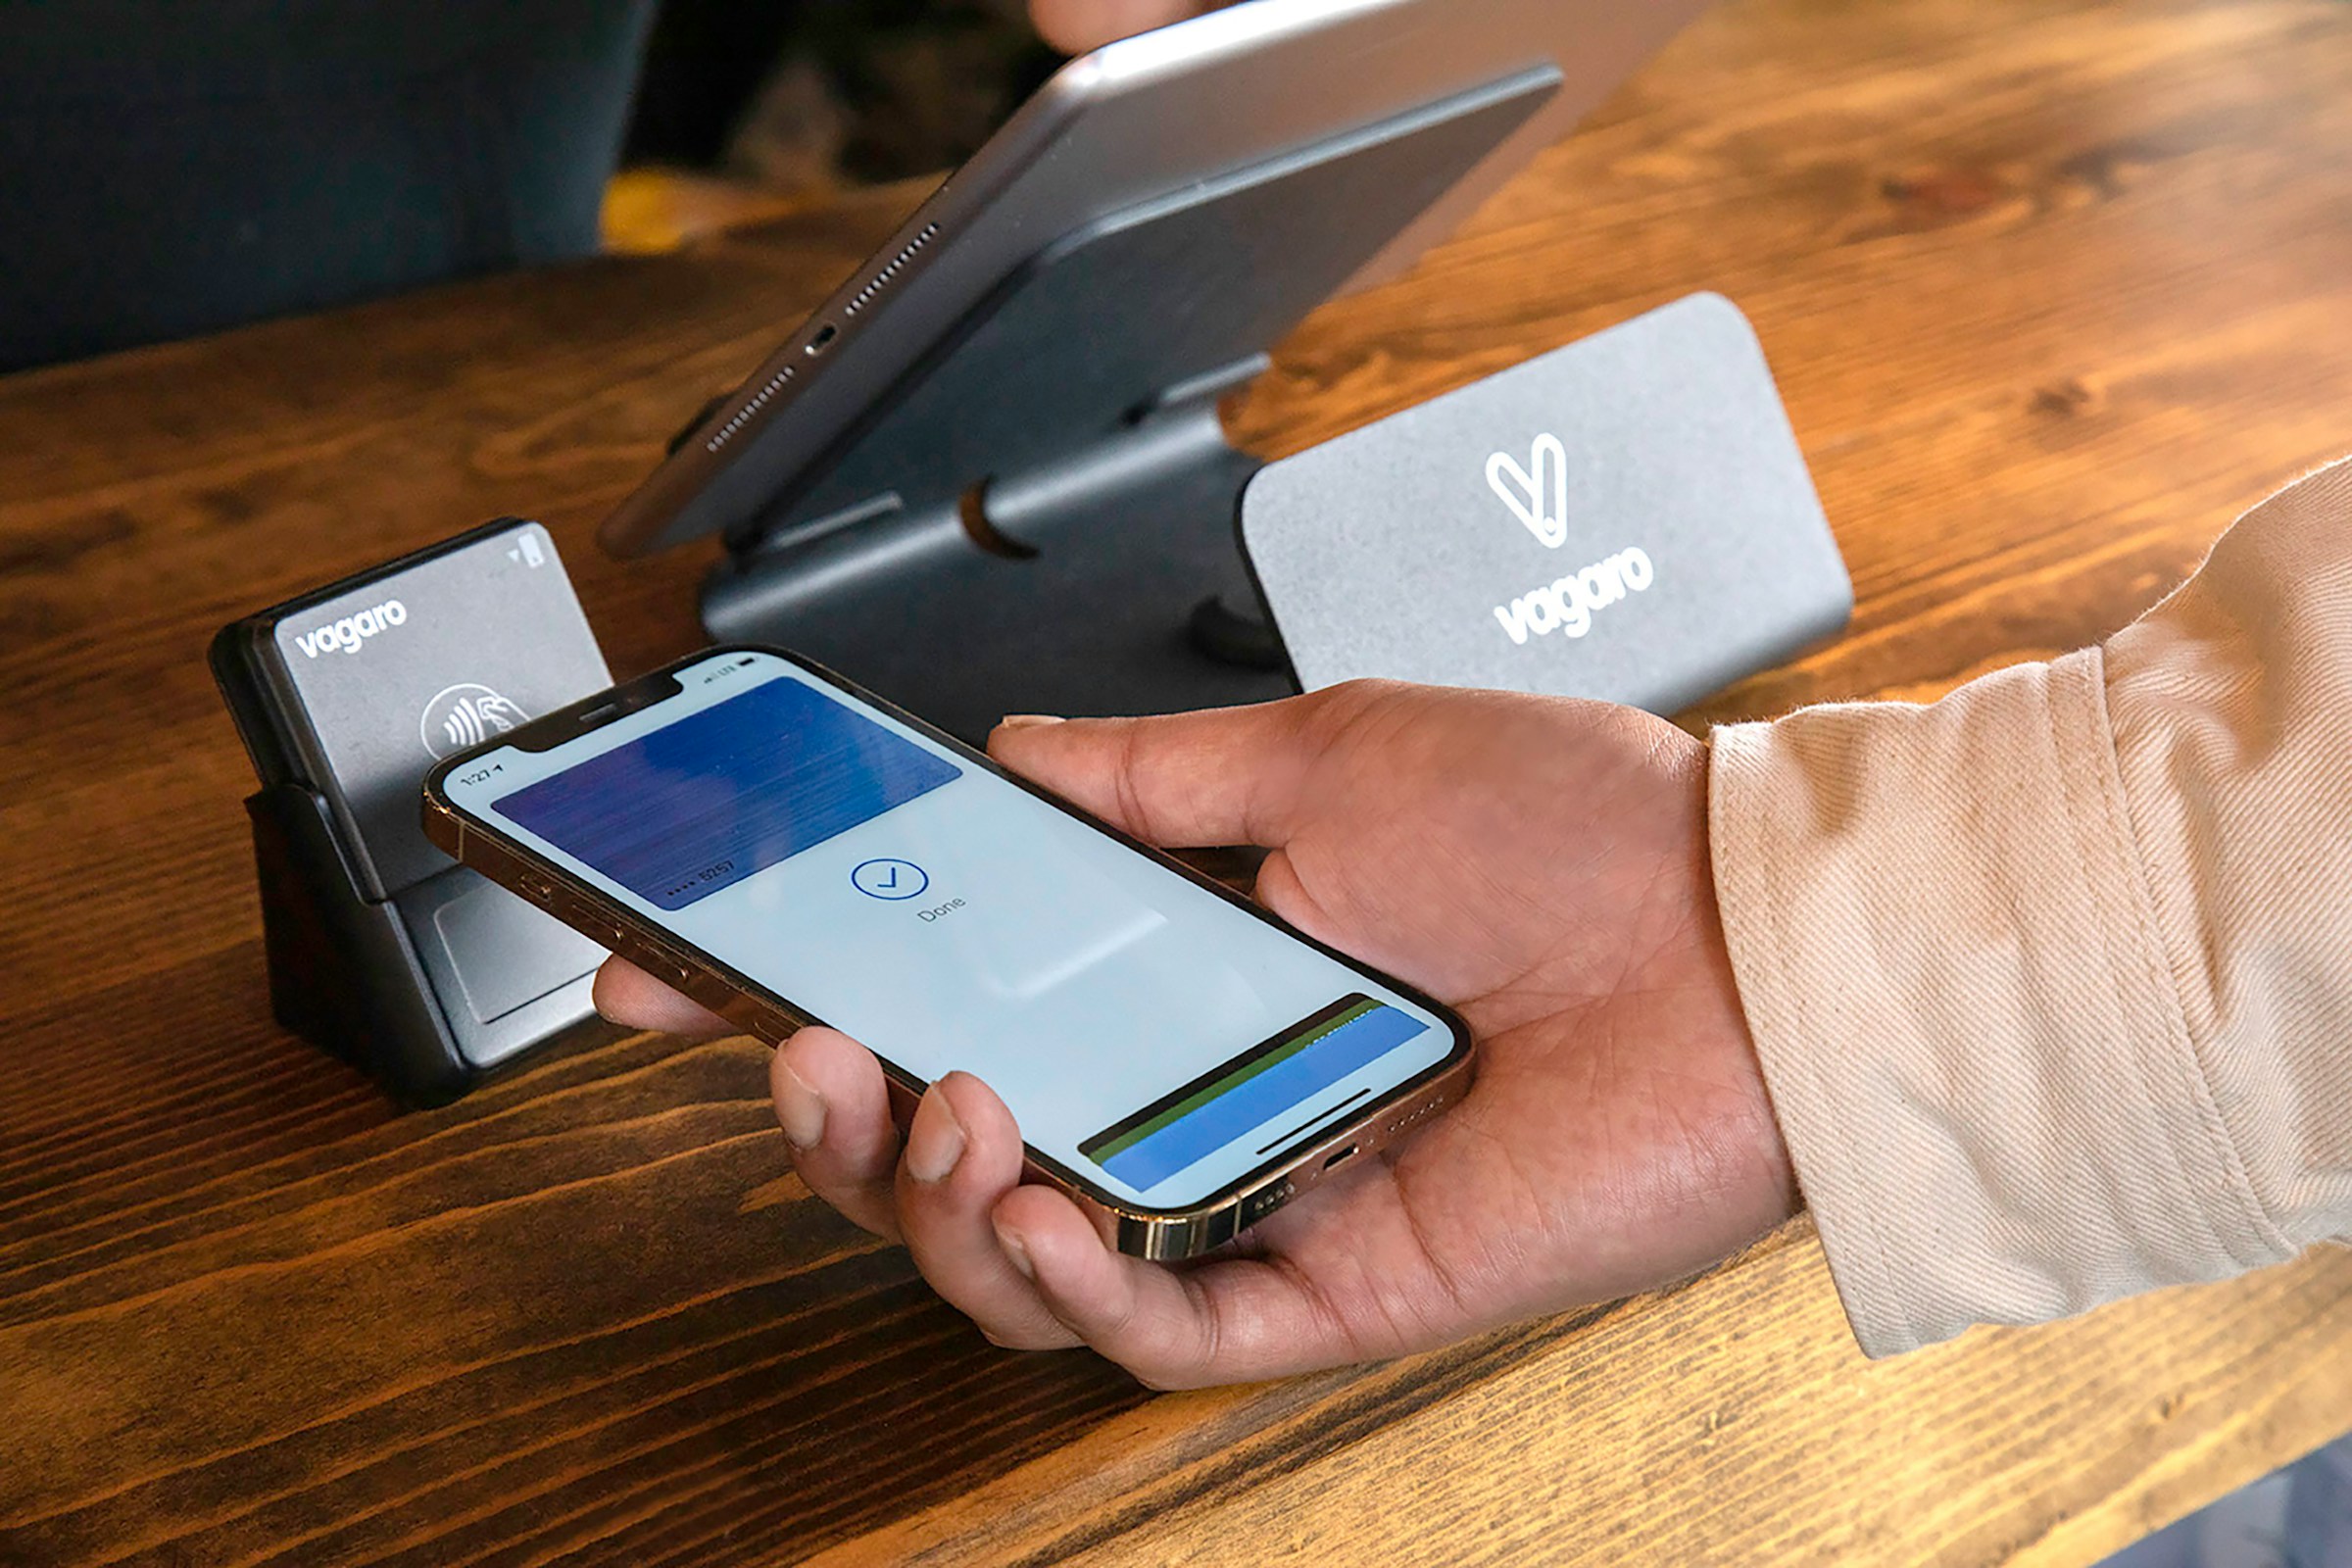
How to Pay at the Store 🛒
Once you’re set up, look for the Contactless Symbol at the register—it looks like a hand holding a card near four curved lines (it looks a bit like a Wi-Fi symbol turned on its side 📶).
Using Apple Pay:
-
If your iPhone has a Home Button: Double-click the Home button, then hold your phone near the card reader.
-
If your iPhone does not have a Home Button: Double-click the side button on the right (the power button), look at your phone to “unlock” it, and hold it near the reader.
Using Google Pay:
-
Unlock your phone: You don’t even need to open the app! Unlock your phone with your code or fingerprint, then hold the back of the phone near the reader.
You’ll hear a “ding” or feel a little vibration, and a green checkmark will appear on your screen. Success! 🎉
Why You Will Love Digital Payments 🚨
-
No More Fumbling: No need to dig through a purse or wallet for the right card or count out exact change.
-
Extra Security: If you lose your phone, your cards are still protected by your phone’s lock code or face scan. If you lose your physical wallet, anyone can use your cards!
-
Cleanliness: You don’t have to touch a germy keypad or hand your card to a stranger.
-
Everything in One Place: You can also store digital boarding passes, movie tickets, and even some loyalty cards (such as your CVS or Walgreens card) in the same app.
Common Troubleshooting 🛑
-
“It didn’t work!”: Make sure your phone is close enough to the reader (usually within an inch). Sometimes, a very thick phone case can interfere with the signal.
-
“Is there a fee?”: No! Using Apple or Google Pay doesn’t cost anything extra. It’s just like using your physical card.
-
“Does every store take it?”: Not every store is set up for “tap to pay” yet, so it’s always a good idea to keep one physical card in your pocket as a backup.
Using your phone to pay is one of those tech tricks that feels like magic the first time you do it. Give it a try next time you’re at the grocery store!
If you’re nervous about adding your first card or want a hands-on demonstration, remember that our Sharks are always here to help you navigate it!